
APPS • DAILYTECH.ID - Google Docs includes a powerful native feature called Voice Typing, which allows users to dictate text directly into their documents, significantly speeding up the writing process. This guide provides comprehensive steps for activating and utilizing the voice-to-text functionality across all major devices and operating systems, ensuring you know exactly how to use voice to text on google docs.
To use voice to text in Google Docs, open your document and navigate to the Tools menu. Select Voice Typing (or press Ctrl+Shift+S on Windows/ChromeOS, or Command+Shift+S on Mac). A microphone icon will appear; click it, select your desired language, and begin speaking clearly. Ensure your browser (Chrome is recommended) has microphone access enabled for accurate transcription. Understanding the specific setup for your device, whether desktop or mobile, is crucial for seamless dictation.
How to Enable Voice Typing on Google Docs (Desktop and Web)
The native Voice Typing feature built directly into Google Docs is one of the most accurate and responsive dictation tools available for free on the web. It is essential for users seeking accessibility solutions or simply aiming to increase their content creation speed without relying on external, subscription-based software. Learning how to voice to text in google docs is straightforward across any major browser, though Google Chrome remains the optimized choice.
Accessing Voice Typing through the Tools Menu
This standard activation process works uniformly whether you are using Windows, Mac, or ChromeOS, answering the core questions of how to enable voice to text in google docs and how to turn on voice to text on google docs.
- Open the Document: Navigate to the specific Google Docs document where the dictation is needed. Ensure you have a stable internet connection, as Voice Typing relies on Google’s cloud-based speech recognition algorithms.
- Locate the Tools Menu: In the top toolbar, situated between “Format” and “Extensions,” click the Tools menu.
- Select Voice Typing: Scroll down the dropdown menu until you see the option for Voice Typing. Clicking this option will activate the feature.
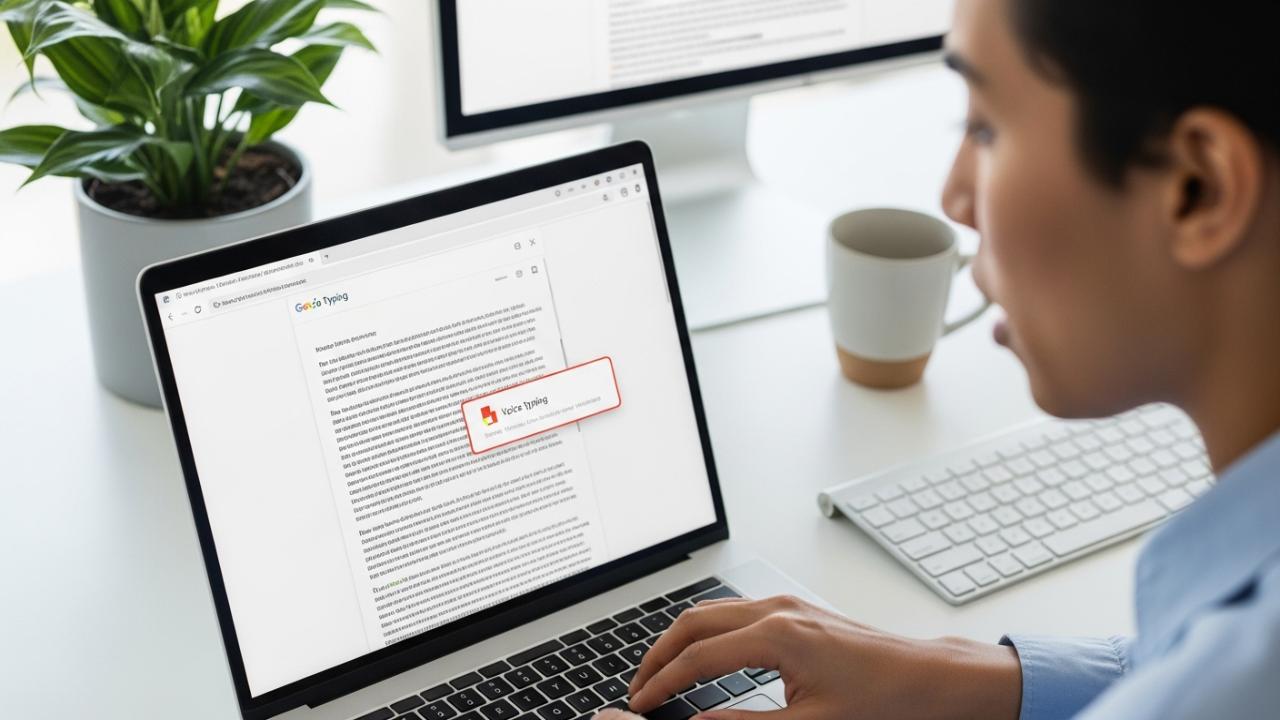
- The Microphone Window: Once activated, a small, floating microphone window (often light gray) will anchor itself typically to the left side of your document window, outside the main text area. This movable widget is your primary control interface for dictation.
Using Keyboard Shortcuts for Instant Activation
For professionals or students who frequently switch between typing and dictation, remembering the dedicated keyboard shortcut is the most efficient way to open the Voice Typing tool. This eliminates the need to navigate the menu bar every time, streamlining the process significantly and making the shortcut the fastest answer to how to do voice to text on google docs shortcut.
- For Windows and ChromeOS Users: The command is Ctrl + Shift + S. Pressing these three keys simultaneously will instantly summon the microphone widget and place it on your screen, ready for configuration.
- For Mac Users: The command shifts slightly due to the difference in the primary modifier key. Mac users should press Command + Shift + S. This is the key insight for those asking how to use speech to text on google docs mac or how to do voice to text on mac google docs.
Using the shortcut is highly recommended for maintaining flow, especially when dictating lengthy passages that require frequent pauses for editing or repositioning the cursor.
Configuration and Initial Setup
Before you start speaking, two crucial setup steps must be completed: selecting the correct input language and ensuring the browser has microphone permissions. Failure to perform either of these steps correctly will result in transcription errors or an unusable feature.
- Select Your Language: Above the microphone icon on the floating widget, you will find a language dropdown menu. Google Docs supports an incredibly wide range of languages—over 100 variants and dialects. It is vital to select the precise language you will be speaking (e.g., choosing “English, United Kingdom” when you are speaking with an American accent will significantly reduce accuracy).
- Grant Microphone Access: The first time you attempt to click the microphone icon (when it is still gray), your web browser (Chrome, Firefox, Edge, etc.) will likely display a pop-up prompt asking for permission to access your device’s microphone. You must click “Allow” or “Grant Access.” If you accidentally click “Block,” the microphone icon will remain gray and unusable. If blocked, you must manually reset the permissions through your browser’s site settings menu (usually accessible by clicking the small padlock or information icon next to the URL bar).
- Start Dictation: Once the language is selected and permissions are granted, click the gray microphone icon. It will turn bright red, indicating it is actively listening. Begin speaking clearly and at a moderate pace.
Device-Specific Instructions for Seamless Dictation
While the web interface remains consistent, different operating systems require unique considerations, particularly concerning dedicated hardware like Chromebooks and mobile devices.
Voice Typing on Chromebooks
Chromebooks are inherently optimized for Google Workspace, meaning Voice Typing integration is exceptionally smooth. For users wondering how to do speech to text on google docs chromebook, the process is identical to the standard desktop setup, but often more reliable due to ChromeOS’s tight integration with the Chrome browser.
- Use the Shortcut: The fastest method on a Chromebook is pressing Ctrl + Shift + S.
- Ensure Browser Focus: Make sure the Chrome browser window containing the Google Doc is the active window before dictating.
- Avoid OS Conflict: Chromebooks also have a native OS-level dictation feature (usually activated via the search key + D or a dedicated accessibility setting). While this can also dictate text, the native Docs Voice Typing tool, accessed via the Tools menu, is specifically tuned for context and formatting commands within the Docs environment, offering superior performance for complex writing tasks. Always prioritize the in-Docs feature for the best results.
How to Use Voice to Text on Google Docs Mobile App
The experience of using voice to text google docs app on a smartphone or tablet differs fundamentally from the desktop version. The Google Docs mobile application (available on iOS and Android) does not utilize the floating red microphone widget found in the desktop Tools menu. Instead, it relies entirely on the dictation capabilities built into your device’s operating system keyboard. This applies whether you are searching for how to use voice to text in google docs app or how to use voice to text on google docs mobile.
- Open the App and Document: Launch the Google Docs app and tap into the specific document you wish to edit.
- Activate the Keyboard: Tap inside the document text area to bring up the mobile device’s on-screen keyboard (Gboard on Android, or the native iOS keyboard).
- Locate the Keyboard Microphone: Look carefully at the displayed keyboard. There will be a small microphone icon located either on the spacebar, near the bottom corner keys, or embedded near the number row (its exact location depends on your phone’s operating system and chosen keyboard app).
- Tap and Speak: Tap this microphone icon. The keyboard will change its appearance (often expanding or showing a waveform) to indicate it is listening.
- Dictate: Speak clearly. The text will appear directly in the Docs app.
- Stop: Tap the microphone icon again, or sometimes the keyboard spacebar, to stop dictation and return to manual typing.
This distinction is crucial: mobile dictation accuracy is governed by the quality of your phone’s internal dictation engine (e.g., Apple’s Siri transcription or Google’s Gboard), rather than the Google Docs Voice Typing engine used on the desktop web interface.
Advanced Usage, Tips, and Troubleshooting
Dictation is more than just speaking; it requires control over punctuation and basic formatting commands. Furthermore, maximizing accuracy requires proactive troubleshooting.
Dictating Punctuation and Formatting
One of the major advantages of using the native Voice Typing tool (especially on the desktop web interface) is its recognition of voice commands for structuring text. You do not need to pause and manually insert every comma or period. Simply speak the command as you dictate.
| Command Category | Voice Command | Example Usage |
|---|---|---|
| Punctuation | Period, Comma, Question Mark, Exclamation Point, Colon, Semicolon, Ellipsis (or “dot dot dot”), New line | “I finished the report period New line I need a coffee break exclamation point” |
| Spacing/Breaks | New paragraph, New line, New page | “This topic requires careful thought New paragraph We must address the budget next.” |
| Formatting | Bold (text), Italicize (text), Underline (text), Undo, Redo, Select all | “Set this section to bold Select the previous sentence underline” |
| Editing | Delete (word/phrase), Insert link, Go to the end of the line | “Delete last sentence Undo Insert link to the source document” |
For command recognition to work effectively, ensure you speak the command immediately after the word it follows, or pause slightly before giving a formatting instruction. For instance, to start a new paragraph, say the last word of the current paragraph, pause briefly, and then say, “New paragraph.”
Troubleshooting Common Voice Typing Issues
While the Docs dictation tool is highly reliable, users occasionally encounter problems with access, accuracy, or responsiveness.
Microphone Access and Permissions
The most common reason the microphone widget is grayed out or fails to turn red is a permission error.
- Check Browser Permissions: If you previously clicked “Block” when prompted, you must override this setting. In Google Chrome, click the small padlock icon to the left of the URL bar (https://docs.google.com…). This will open the Site Settings menu. Ensure that “Microphone” is set to “Allow” and not “Block.”
- Check Operating System Permissions: On Mac, Windows, or ChromeOS, the operating system itself might be blocking browser access. Go into your system’s Privacy or Security settings and verify that the application (like Chrome) has permission to use the microphone.
Browser Compatibility
While Docs will function on most modern browsers, Google Chrome provides the most seamless and accurate dictation experience, as the Voice Typing feature is optimized for Chrome’s internal speech processing components. If you are experiencing major lag or high inaccuracy on a browser like Firefox or Safari, switching to Chrome will usually resolve the issue.
Improving Accuracy
Inaccurate transcription is often caused by external factors:
- Minimize Background Noise: Dictate in a quiet environment. Loud music, conversations, or even strong ventilation fans can interfere with the algorithm’s ability to distinguish your voice.
- Use a Quality Microphone: While a built-in laptop mic works, an external USB headset or a dedicated desktop microphone will drastically improve the audio quality, leading to much higher transcription accuracy.
- Speak Clearly and Naturally: Do not rush your words, but also avoid speaking too slowly or robotically. Maintain a steady, conversational pace. If you are correcting transcription, pause briefly before repeating the word.
Voice Dictation in Other Google Workspace Tools
The convenience of voice typing extends beyond simple word processing into other applications within the Google Workspace suite, provided you understand their limitations.
How to Use Voice to Text in Google Slides
Voice dictation is an invaluable tool for presenters who need to quickly populate speaker notes or slide content, addressing how to use voice to text in google slides. The activation process mirrors Google Docs exactly:
- Open Slides: Open your presentation in the web interface.
- Navigate to Tools: Click the Tools menu in the top toolbar.
- Select Voice Typing: Click on Voice Typing. The red microphone widget will appear.
- Cursor Placement is Key: Ensure your cursor is actively placed in the text box where you intend the transcription to land—this could be a slide title, a bullet point, or, most commonly, the speaker notes panel below the main slide view.
- Dictate Notes: Use the dictation feature to quickly draft comprehensive speaker notes without taking your hands off the keyboard. Since notes are often conversational, dictation is highly efficient here.
Voice to Text Limitations in Google Sheets
For users hoping to use voice dictation for rapid data entry, it is important to clarify that direct Voice Typing is not a native feature in Google Sheets cells, unlike in Docs and Slides. The spreadsheet environment requires highly structured, precise data input, making general speech-to-text less suitable for its core function.
If you must use dictation in Sheets, you must rely on external operating system tools:
- Windows: Use the native Windows Dictation feature (usually activated by pressing the Windows key + H).
- Mac: Use the macOS built-in dictation feature (usually activated by pressing the Fn key twice).
When using these external tools, ensure your cursor is active within the specific Sheet cell before dictating. However, note that these OS tools generally lack the advanced punctuation commands and Google Docs integration that makes the native Voice Typing so powerful.
FAQs – How To Use Voice To Text On Google Docs
Google Docs utilizes its own powerful, cloud-based Voice Typing feature, which is accessible through the Tools menu on the desktop web interface. This native tool is optimized for document transcription and supports specific formatting commands, unlike generic OS dictation.
To instantly activate the Voice Typing widget on a Mac computer when using Google Docs in a web browser, the user should simultaneously press the Command + Shift + S keys. This shortcut bypasses the need to open the Tools menu.
The microphone icon is typically grayed out if your web browser has denied Google Docs access to your device’s microphone. Check your browser’s site permissions (usually near the URL bar) and ensure that microphone access is explicitly set to “Allow.”
No. Google Docs Voice Typing relies heavily on Google’s advanced cloud-based speech recognition algorithms for accurate transcription and formatting command processing. Therefore, a stable and active internet connection is mandatory for the feature to function properly.
Google Docs Voice Typing supports an extensive array of languages, encompassing over 100 different languages, dialects, and regional variants globally. You must ensure you select the specific language variant that matches your accent for the highest possible transcription accuracy.


