IPAD • DAILYTECH.ID - In today’s digital-first world, the ability to capture what’s happening on your screen is more than just a neat trick—it’s a necessity. Whether you’re a student in the United States recording a lecture, a gamer in Canada capturing an epic win, or a professional in the UK creating a software tutorial, knowing how to screen record on iPad is a vital skill. Screen recording on iPad is a built-in feature that allows you to capture everything on your screen as a video without installing any apps.
To screen record on iPad, enable Screen Recording in Control Center, then tap the record icon to start. You can also turn on the microphone to record audio. The beauty of iPadOS is that Apple has built a professional-grade screen recording tool directly into the system, so you don’t need any third-party apps. However, the feature isn’t active by default, and many users struggle with recording with sound or troubleshooting why screen recording is not working.
This guide shows you exactly how to screen record on iPad step by step, including quick setup, recording with sound, and fixing common issues.
Quick Answer: The 30-Second Setup
To screen record on iPad, you must first add the feature to your Control Center. Go to Settings > Control Center and tap the green “+” next to Screen Recording. Once added, swipe down from the top-right corner of your screen, tap the Record icon (a circle within a circle), and wait for the 3-second countdown.
How to Screen Record on iPad (Basic Method)
The screen recording feature is universal. Whether you are wondering how to screen record on iPad Pro, iPad Air, iPad Mini, or the standard 9th/10th generation iPad, the process is identical.
Step 1: Enable the Feature in Settings
By default, the screen recording button is hidden. You have to “invite” it to your Control Center.
- Open the Settings app on your iPad.
- Scroll down to Control Center.
- Look under the “More Controls” section for Screen Recording.
- Tap the green plus (+) icon next to it. It will now move up to the “Included Controls” section.
Step 2: Access the Control Center
Now that the button is enabled, you need to know how to find it. This depends on your iPad model:
- On iPads without a Home Button (iPad Pro, Newer Air/Mini): Swipe down from the top-right corner of the screen (where the battery icon is).
- On iPads with a Home Button: Swipe up from the bottom edge of the screen.
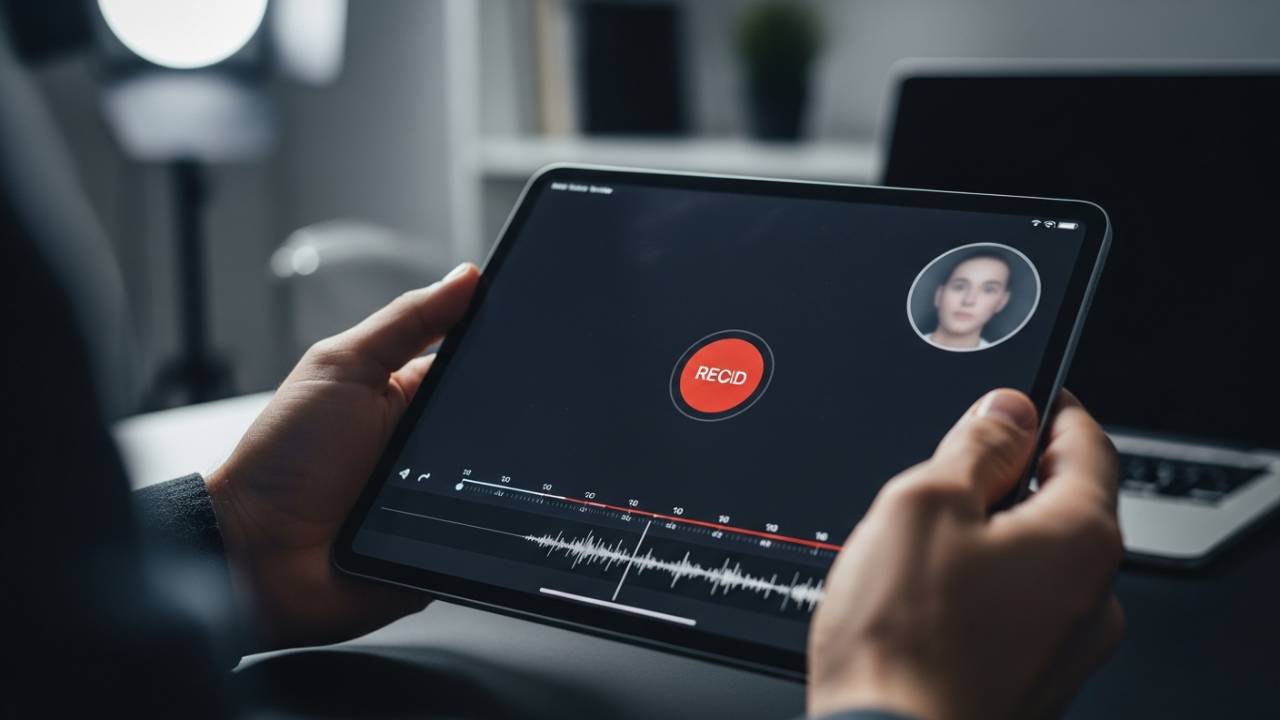
Step 3: Start the Recording
- Tap the Screen Recording button (the white circle).
- A 3-second countdown will begin inside the circle. This gives you time to close the Control Center and prepare your screen.
- Once the timer hits zero, the button will turn red, and a small red recording icon will appear in the top status bar (or top-right corner).
Step 4: Stop the Recording
To end your session, tap the red recording indicator in the top status bar and hit Stop. Alternatively, you can open the Control Center again and tap the red record button.
How to Screen Record on iPad With Sound
One of the most frequent complaints from users is: “I recorded my screen, but there’s no sound!” By default, the iPad records “System Audio” (the sounds coming from the apps) but keeps the Microphone OFF.
How to Screen Record on iPad with Microphone
If you want to narrate a tutorial or record your voice over a video, follow these steps:
- Open the Control Center.
- Long-press (hold down) the Screen Recording icon.
- A hidden menu will pop up. At the bottom, you will see a Microphone icon.
- Tap it to turn it Red (On).
- Tap Start Recording from this menu.
Why Screen Recording on iPad Has No Sound
If your recording is still silent, check these three things:
- The Mute Switch: Ensure your iPad isn’t on silent mode.
- App Restrictions: Some apps (like Netflix or certain banking apps) block audio recording to prevent piracy or protect data.
- Copyrighted Music: If you are playing music from Spotify or Apple Music, the iPad may automatically strip the audio from the recording to comply with copyright laws.
How to Screen Record on iPad With Camera (Face Cam)
Technically, the native iPadOS screen recorder does not have a built-in “Picture-in-Picture” face cam feature like you might see on Twitch or YouTube. However, there are two ways to achieve this:
1. Using Video Conferencing Apps
If you screen record Zoom on iPad or use Discord, those apps often allow you to share your screen while keeping your camera active. The native recorder will capture the combined output.
2. Third-Party Editing
For high-quality tutorials, most creators record their screen using the native tool and simultaneously record their face using a second device (or the iPad’s front camera in a separate app). They then use an editor like LumaFusion or iMovie to overlay the face cam onto the screen recording.
How to Screen Record for Zoom, FaceTime, or Discord
Recording calls is a great way to save meetings or catch up with family, but it comes with specific hurdles.
- FaceTime: You can screen record FaceTime on iPad with sound, but you must ensure the microphone is turned on in the Screen Recording menu (as described above). Note that in some regions, Apple disables audio recording during FaceTime calls for legal privacy reasons.
- Zoom/Discord: These apps have their own internal recording settings. Often, the app will ask for permission to “Broadcast” your screen. Always choose the native “Screen Recording” option when the prompt appears.
Where Screen Recordings Are Saved on iPad
Once you hit “Stop,” your video is processed and saved automatically.
- The Photos App: Open Photos and look for your most recent item.
- Screen Recordings Album: For better organization, go to the Albums tab in Photos, scroll down to Media Types, and select Screen Recordings.
From here, you can tap Edit to trim the beginning or end of the video, which is helpful for removing the part where you closed the Control Center.
Screen Recording Not Working? Common Fixes
If you can’t find the button or the recording keeps failing, try these troubleshooting steps:
- Check Screen Time Restrictions: This is the #1 reason for a missing record button. Go to Settings > Screen Time > Content & Privacy Restrictions > Content Restrictions. Ensure that Screen Recording is set to Allow.
- Storage Space: A 10-minute screen recording can take up a lot of space. If your iPad is full, the recording will fail to save.
- School/Work iPads: If you have a school iPad, the administrator may have disabled screen recording via a “Management Profile.” You will need to contact your IT department to see if they can enable it.
- Low Power Mode: Sometimes, Low Power Mode can interfere with background processes like screen recording. Try turning it off in Settings > Battery.
Can You Screen Record Netflix or Disney+?
If you try to screen record Netflix, Disney+, or Amazon Prime on your iPad, you will likely end up with a black screen and no audio. This is due to DRM (Digital Rights Management). These apps are designed to detect screen recording software and block the video feed to prevent illegal distribution of movies and shows. There is no official way to bypass this on an iPad.
FAQs – How to Screen Record on iPad
Enable Screen Recording in Control Center, then swipe down and tap the record icon. Recording starts after a 3-second countdown.
Open Control Center, long-press the Screen Recording button, then turn on the Microphone before starting the recording.
This usually happens because Screen Recording is disabled in Screen Time, storage is full, or restrictions are applied by your device.
The microphone may be turned off, your iPad is on silent mode, or the app you are recording blocks audio.
All recordings are automatically saved in the Photos app under the Screen Recordings album.
Yes, iPad has a built-in screen recording feature. You only need to enable it in the Control Center settings.
Final Thoughts
Mastering screen recording on your iPad opens up a world of possibilities for sharing information and creating content. Whether you’re using an iPad Pro for professional work or an old iPad with a Home button for school, the process is streamlined and powerful. Just remember to check your microphone settings if you need to be heard!