
APPS • DAILYTECH.ID - The bookmark feature in Google Docs is essential for creating internal jump links, allowing readers to quickly navigate long documents without endless scrolling. Mastering how to use bookmarks in Google Docs transforms an unwieldy file into a cohesive, organized document suitable for comprehensive reports or eBooks.
To use bookmarks in Google Docs, first select the desired location (text or blank space) and choose Insert > Bookmark. Once the bookmark is created, you can link to it by selecting text elsewhere in the document, clicking Insert > Link, and selecting the created bookmark name from the dropdown menu, which facilitates fast internal navigation. This detailed guide will walk you through the entire process, covering creation, linking, and management so you can fully utilize this powerful navigation tool.
Setting Up Bookmarks: How to Add Bookmarks to Google Docs
Implementing robust internal navigation begins with correctly placing the anchor points. These anchors, or bookmarks, are the hidden destinations that your clickable links will target. Understanding how to add bookmarks to Google Docs is the fundamental skill required for any complex document structure, whether you are building a navigable glossary, detailed cross-references, or simply organizing chapter divisions. These points serve as permanent, fixed locations within your document, ensuring that your readers land precisely where intended, regardless of future edits to preceding content.
The process of deployment is intuitive, but precision is key. A bookmark placed one line above or below the intended destination can frustrate users attempting to quickly find critical information. Therefore, always verify the cursor placement before initiating the insertion command, particularly when dealing with long paragraphs or dense data tables.
Step-by-Step: How to Add a Bookmark in Google Docs
This process is the foundation for document navigation and answers the core question: how to add a bookmark in Google Docs. This method applies universally to the standard desktop web interface, providing the most stable and visual way to confirm placement.
- Select the Destination: Place your cursor precisely where you want the jump link destination to be. This location can be at the beginning of a key section, adjacent to a heading (like a
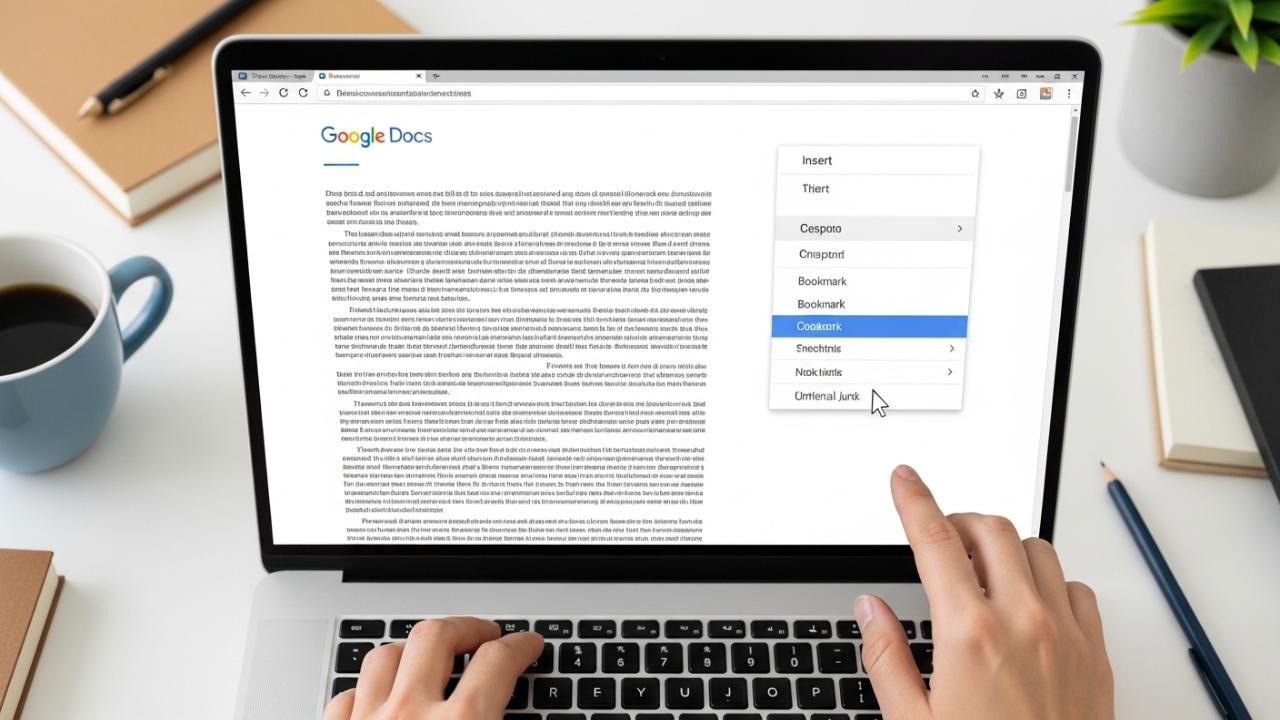
Heading 3orHeading 4), or even within a specific paragraph that requires direct referencing. It is usually best practice to place the cursor right before the first character of the target text. - Access the Insert Menu: Navigate to the Insert menu located at the top toolbar of the Google Docs interface. This menu houses all structural non-textual elements you can add to your document, including images, tables, and links.
- Click Bookmark: From the dropdown menu, select the Bookmark option. This action is instantaneous; unlike linking to an external site or creating a new heading, no dialogue box will appear requiring text input.
- Confirmation: A small, ribbon-like icon, typically displayed in gray or blue, will immediately appear to the left of your selected location (in the margin or next to the text). This icon serves as the visual confirmation that the bookmark has been successfully added, establishing a fixed anchor point ready for linking.
If you need to define multiple precise targets within a single, extensive section—a scenario where traditional headings would be overkill—you must repeat this process for every required jump point. Mastering how to create bookmarks in Google Docs involves building these non-visible anchors throughout the entire body of your work.
Adding Bookmarks on Google Docs Mobile
Professionals, students, and content creators often utilize Google Docs on mobile devices for reviewing and quick editing. Creating bookmarks is possible even when using the application on the go. Knowing how to add bookmark in Google Docs mobile ensures that document accessibility planning is continuous, regardless of your workspace. While the interface is condensed compared to the desktop version, the functionality remains identical.
- Open the Document: Launch your Google Docs application (available for both Android and iOS) and open the long document you intend to structure. Ensure you are in editing mode.
- Position the Cursor: Tap and hold briefly to bring up the cursor controls. Use the handles to place the cursor exactly at the desired anchor point within the text. You must be precise, as the limited screen size makes fine-tuning placement slightly more challenging than on a desktop.
- Initiate Insertion: Tap the + (Insert) icon located in the toolbar, typically found at the top or bottom of the screen, depending on your device and OS version. This plus sign replaces the desktop’s text-based menu system.
- Select Bookmark: Scroll through the list of insertable items (which includes images, tables, and horizontal lines). Select Bookmark from the list of options. The ribbon icon confirming placement may appear slightly differently due to mobile formatting, but the function is the same.
This mobile capability ensures that you can set bookmarks in Google Docs quickly during field research or while commuting, facilitating later, more organized linking when you return to your desktop environment.
Maximizing Bookmark Usage: Linking and Functionality
Creating anchors is only the first half of the process; the utility of the feature is realized when those anchors are linked to navigable text. The true power of the feature lies in how to link bookmarks in Google Docs to create navigable jump points that bypass the need for traditional, linear reading. This is essential for creating an interactive table of contents, integrating comprehensive cross-references, or building an agile glossary within the same file.
How to Link Bookmarks for Internal Navigation
This procedure dictates the source (the clickable text) and connects it directly to the anchor (the bookmark), completing the internal navigation loop. Knowing how to use a bookmark in Google Docs effectively centers entirely on this linking process.
- Highlight the Source Text: Identify and highlight the text you want your reader to click (e.g., a phrase like “See Section 3.2 on Regulatory Compliance” or a bullet point in a preliminary index). This highlighted text will become the interactive hyperlink.
- Access the Link Tool: Click Insert > Link in the menu bar, or utilize the universal keyboard shortcut (Ctrl + K on Windows, Cmd + K on macOS). This action opens the link insertion dialogue box.
- Select the Internal Destination: In the link menu that appears, do not paste an external URL. Instead, look for the dropdown menu labeled “Headings and bookmarks” (sometimes simply “Bookmarks”). Clicking this will reveal a list of all established headings (H1, H2, etc.) and all manually placed bookmarks.
- Choose and Apply: Select the specific bookmark name you want to link to from the list. Google Docs automatically names the bookmarks based on the text near where they were placed, or simply as “Bookmark 1,” “Bookmark 2,” etc. Ensure you select the correct target. Click Apply.
Once applied, the source text will be underlined and hyperlinked. Now, when a user clicks the source text, they will jump instantly and smoothly to the bookmarked location, demonstrating precisely how do I use bookmarks in Google Docs to achieve streamlined organization. This method is superior to manually linking to page numbers, which become obsolete the moment the document layout changes.
Understanding How Bookmarks Work in Google Docs
Many users wonder, what do bookmarks do in Google Docs? Bookmarks function conceptually as named anchor tags (a term derived from web programming). They act as fixed, non-visible targets for hyperlinks. Unlike traditional headings which are structural and automatically named and tracked in the document outline, bookmarks allow you to set a custom destination point that is not required to be a structural element.
The primary benefit of using the bookmark function in Google Docs is the ability to create precision links to content that lacks a formal heading structure—for instance, linking directly to a specific sentence in a detailed methodology section or a particular row in a complex data summary.
- Headings: These define the overall architecture of the document and appear automatically in the navigation outline. They are designed for large-scale section jumps.
- Bookmarks: These are precision tools. They are designed to link to small, specific segments of text. They are critical when you need to add page markers in Google Docs that reference content independent of the document’s formal structure. Understanding how do bookmarks work in Google Docs simplifies the management of exceptionally long, detailed reports, transforming a static file into a highly dynamic database of information.
Advanced Management and Navigation
Maintaining long documents requires diligence in checking that all jump links remain accurate. Learning how to manage bookmarks in Google Docs is just as important as the initial creation process. Errors often occur when content is moved or deleted near the anchor point, potentially causing the link to target the wrong section.
Viewing and Finding Bookmarks in Your Document
If you have a very long document containing dozens of jump points, you will inevitably need to view bookmarks in Google Docs to ensure they are properly placed or to verify a link destination. Bookmarks are visually represented by that small gray or blue ribbon icon situated in the left margin.
The critical distinction here is the viewing mode:
- Editing Mode: If you have editing rights, the ribbon icons are visible. To find bookmarks in Google Docs, simply scroll through the document and look for the icon near the margins, or place your cursor near the area where you suspect a bookmark exists. If a bookmark is present, the icon will appear as you hover your mouse nearby.
- Viewing Mode: If the document is shared in View-only mode, the bookmark ribbon icon is completely invisible. The only way to interact with the bookmark is by clicking the hyperlinked source text.
Therefore, document creators must rely on the editing mode visual marker when checking accuracy. If you need a persistent, visible structure for readers, you must utilize the combination method: add headings and bookmarks in Google Docs together. For instance, use a Heading 3 for the section title, and place a bookmark immediately after the title text. This leverages the Outline feature (for general navigation) while simultaneously providing a precision anchor (the bookmark) for internal cross-references.
How to Edit, Rename, and Delete Bookmarks
The management lifecycle of bookmarks differs significantly from other document elements, primarily because they are nameless anchors attached to specific coordinates rather than named objects in a list. Therefore, learning how to manage bookmarks in Google Docs ensures your document remains clean, accurate, and free of broken links.
- Editing/Renaming: Bookmarks cannot be renamed directly via a dialogue box, nor can their position be adjusted by dragging the ribbon icon. This is a common point of friction for power users. If the bookmarked text moves significantly, or if the name displayed in the linking dropdown list is confusing, you must address this by recreating the link. Essentially, you must delete bookmarks in Google Docs and then recreate them at the new, desired spot, ensuring the link is updated accordingly.
- Deleting: The deletion process is straightforward and quick. First, locate the small ribbon icon next to the anchor text. Click the icon directly. A small contextual box will appear, often showing the bookmark’s internal ID. Click Remove (or the trash can icon) within that box to remove bookmarks in Google Docs. Once the anchor is removed, any text that was linked to it will simply point to the very top of the document or return a broken link error, necessitating that you also delete or update all corresponding source links.
This methodical deletion and re-creation process is how you effectively edit bookmarks in Google Docs and maintain integrity across massive documents.
Integrating Bookmarks with the Document Outline
For optimal professional documents—such as regulatory manuals, lengthy academic dissertations, or proprietary technical guides—combining bookmarks with the automated Document Outline feature provides the best of both structural and navigational worlds.
While you cannot add bookmark to outline in Google Docs directly (as the outline only recognizes structural heading levels H1 through H6), you can use bookmarks strategically to enhance the outline’s functionality. This is achieved by linking the high-level outline entries to ultra-specific, non-heading content deeper in the text.
The primary use of this integration is creating effective chapter markers in Google Docs that function beyond basic section titles. Consider a chapter titled “Methodology,” which is an H2. Within that chapter are several key experimental parameters that do not warrant their own H3, but must be readily jumpable. You place bookmarks at each parameter. Then, in an introductory index or a preface section, you create a list of links (e.g., “Parameter A,” “Parameter B”) that link directly to those bookmarks.
This results in a document where the left-side navigation (the Outline) provides the high-level context, while the introductory index—using bookmark links—provides the micro-level, high-fidelity jump points necessary for rapid technical referencing. This comprehensive use of both headings and bookmarks drastically improves document accessibility and serves as the highest form of organization in Google Docs.
FAQs – How To Use Bookmarks in Google Docs
Bookmarks in Google Docs are strictly for internal navigation and are bound to the specific document file in which they are created. They cannot be used to link to destinations within separate documents. For linking to external files, you must use standard document URLs.
No, while selecting text is the most common method, you can also link to a bookmark using non-textual elements. You can select an image, a drawing, or another graphical object and follow the standard Insert > Link process, selecting the internal bookmark as the destination.
Headings are structural elements that automatically populate the Document Outline, providing macro-navigation. Bookmarks are invisible anchors placed manually in the body of the text. They allow you to link precisely to specific content that does not have, or does not need, a formal heading structure.
Google Docs does not impose a hard numerical limit on the quantity of bookmarks you can create. However, adding an excessive number, particularly in documents already exceeding 50,000 words, may slow down the document loading time and complicate link management and verification.
The visual bookmark icon (the small ribbon) is only displayed to users who have editing access to the document. If the document is shared in View mode, the icon remains hidden. Only the hyperlinked source text is visible and functional to the reader.


