
APPS • DAILYTECH.ID - Google Docs facilitates hands-free writing through its built-in Voice Typing feature, allowing users to efficiently dictate text directly into their document using an attached or built-in microphone. This powerful tool removes the friction of manual input, whether you are drafting a complex report or simply capturing thoughts on the fly. This guide provides the definitive steps needed to activate, troubleshoot, and maximize the utility of the voice input tool across different operating systems.
The microphone feature in Google Docs, known officially as Voice Typing, is enabled through the “Tools” menu. To utilize it effectively, open a Google Doc, navigate to Tools > Voice Typing (or press Ctrl+Shift+S on Windows/Chromebook or Cmd+Shift/S on Mac). Click the floating microphone icon that subsequently appears, ensure your system and web browser have granted Chrome/Docs microphone access, and begin speaking to input text directly into your document. Understanding the proper setup is crucial whether you need to quickly use your microphone to type on Google Docs for a short note or require specific access permissions for continuous dictation.
Activating Voice Typing: The Core Method to Use Microphone on Google Docs
The foundational process to turn on the microphone on Google Docs is remarkably straightforward, relying solely on accessing the main menu interface within the desktop browser version of the application. This method is the primary technique used across nearly all major desktop browsers, including Chrome, Firefox, Safari, and Edge, ensuring a consistent user experience regardless of the underlying operating system. The Voice Typing feature integrates directly into the browser window, requiring no external software installation, making it a powerful native solution for hands-free documentation.
Step-by-Step Guide to Turning On the Microphone Feature
Following these steps ensures that the Voice Typing widget is successfully launched and ready to receive audio input from your connected or built-in microphone:
- Open the Document: Start by accessing the specific document you wish to edit in Google Docs via a standard desktop web browser. It is important to note that the dedicated Voice Typing feature is currently disabled if you attempt to use Docs in incognito or private browsing modes due to potential conflicts with hardware access permissions.
- Locate the Menu Bar: Navigate your cursor to the menu bar situated horizontally across the very top of the document interface (where you find File, Edit, View, Insert, etc.).
- Click on the Tools Menu: Select the Tools menu item from the list. This menu houses all auxiliary functions and productivity enhancements within Docs.
- Select Voice Typing: Within the Tools dropdown, look for and click the option labeled Voice Typing. For increased efficiency, many users prefer to utilize the keyboard shortcut: Ctrl + Shift + S on Windows or Chromebook devices, or Command + Shift + S on Mac systems.
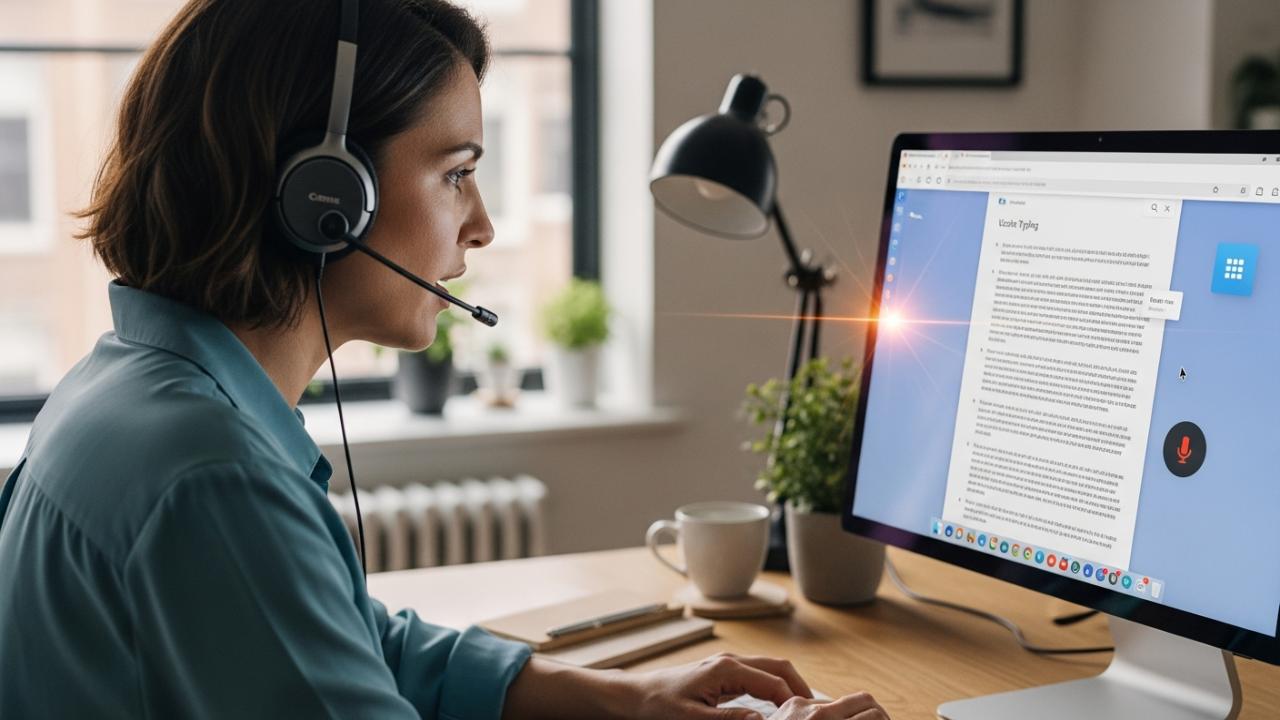
- Acknowledge the Widget: Upon selection, a distinct, floating microphone widget will instantly materialize on the screen, typically situated on the left-hand side. This icon, initially colored gray or black, signifies that the feature is loaded but currently inactive.
- Initiate Listening: Click the microphone icon once. The icon is designed to change color—often turning a vibrant red—to visually confirm that the system is now listening. A small text prompt usually appears, instructing you to “Speak now.”
- Begin Dictation: Commence speaking clearly and deliberately. As you speak, your words will be processed by Google’s speech recognition engine and transcribed almost instantly as text directly into your document at the cursor’s location.
Initial Setup: How to Allow Microphone Access on Google Docs
A primary roadblock preventing users from successfully leveraging this tool is often the operating system or browser denying permission. Before you can use a microphone on Google Docs, the web browser (e.g., Chrome) must have explicit permission to utilize your audio hardware. If the microphone widget appears but remains stubbornly unresponsive or gray when clicked, granting access is almost always the solution.
- Granting Browser Permission: The very first time you attempt to click the red microphone icon in a new Google Docs session, your browser will trigger a critical security prompt. This prompt will generally appear near the address bar at the top of the browser window, asking if the site (docs.google.com) is permitted to “Use your microphone.”
- Confirm Access: You must select Allow or Grant Access to proceed. If you mistakenly selected “Block” previously, the microphone will not function, and you must manually reverse the decision. This prompt is the key step to access the microphone in Google Docs.
- Manual Permission Override (Troubleshooting): If the initial prompt is missed or if the mic remains inactive, you need to dive into the browser’s deep settings.
- In Chrome: Navigate to the three-dot menu (top right) > Settings > Privacy and Security > Site Settings > Microphone. Find the Google Docs URL listed under the sites that have requested access and ensure the permission setting is switched explicitly to “Allow.”
- In Firefox/Edge: The process is similar, involving accessing the browser’s Privacy or Permissions tab and manually verifying that Docs is on the allow list for microphone utilization. This manual override is often necessary to enable microphone in Google Docs after initial user denial.
Using the Microphone to Type: Tips for Optimal Dictation
The fundamental purpose of this feature is to use microphone to type on Google Docs, effectively replacing manual keyboard input with spoken word. While the technology is highly advanced, optimizing your speaking environment and understanding dictation commands significantly boosts accuracy and efficiency.
Environmental Best Practices for Clear Transcription
For the best performance when dictating:
- Proximity and Clarity: Speak clearly and maintain a consistent distance from the microphone—neither too close (which can cause distortion) nor too far (which reduces volume).
- Pacing: Speak at a moderate, natural pace. Speaking too quickly often causes transcription errors, while speaking too slowly can lead to the system timing out between phrases.
- Minimize Background Noise: Dictation accuracy plummets in noisy environments. Try to use a quiet space, or if unavailable, utilize a noise-canceling headset microphone.
Advanced Commands and Language Switching
Google Docs is programmed to recognize specific voice commands for formatting, punctuation, and basic editing, allowing for truly hands-free composition. These commands must be spoken aloud as if they were text intended for transcription.
Essential Formatting Commands:
| Action | Spoken Command | Example |
|---|---|---|
| Punctuation | “period,” “comma,” “question mark,” “exclamation point,” “semicolon” | “I need a coffee period I am tired” |
| Structure | “new line,” “new paragraph” | (Used after a sentence to create spacing) |
| Editing | “delete,” “delete previous word,” “select sentence,” “select paragraph” | “delete” removes the last thing transcribed. |
| Formatting | “bold,” “italics,” “underline” | “bold this section” |
| Navigation | “go to end of line,” “go to start of paragraph” | (Used to move the cursor without manually touching the mouse) |
To switch the input language, which is crucial for dictating non-English text, simply click the dropdown menu found immediately above the floating microphone icon. Select the required language (e.g., Spanish, French, German) from the extensive list. The accuracy of your dictation will only be high if the correct input language is selected, as the system utilizes language-specific acoustic models and dictionaries. This function ensures that you can reliably use mic to type in Google Docs regardless of the dialect or language required for your content.
Troubleshooting Device-Specific Voice Typing Issues
While the fundamental steps to enable microphone in Google Docs are universal across the web interface, external device settings, operating system security protocols, and app behavior can significantly interfere with performance. Addressing these platform-specific quirks is essential for consistent results.
How to Use Microphone on Google Docs on Chromebook
Chromebooks, being inherently optimized for Google services, typically offer a seamless experience, but external hardware can still cause minor conflicts.
- Verify Input Device: Before starting, ensure that your preferred microphone (whether it’s the built-in array or an external USB headset) is correctly selected as the default input device. Access this by clicking the time display in the bottom right corner (the system tray) and navigating to the Audio settings. If multiple microphones are present, explicitly choose the correct one.
- Check Editing Mode: A common mistake on Chromebooks (and all desktop platforms) is attempting to use Voice Typing while the document is set to “Suggesting” or “Viewing” mode. The microphone feature is only functional when the document is in “Editing” mode. Verify that the blue button next to the Share button reads “Editing.”
- Browser Refresh: If the voice typing widget loads but refuses to listen, a simple hard refresh of the browser window (Ctrl + Shift + R) often resolves temporary audio channel lockups specific to the Chrome OS environment. Following these checks helps you use microphone on Chromebook Google Docs effectively every time.
Enabling Microphone Access on Mac for Google Docs
Mac OS prioritizes user security, often implementing strict privacy controls that require explicit permission not just from the browser, but from the operating system itself. If you are struggling to turn on microphone on Mac Google Docs, the solution often lies deep within the System Settings.
- Access System Privacy: Go to System Settings (or System Preferences on older macOS versions) via the Apple menu.
- Navigate to Privacy: Select Privacy & Security from the sidebar.
- Check Microphone Permissions: Click on Microphone in the list of permissions.
- Grant Browser Access: You will see a list of applications that have requested microphone access. It is absolutely crucial that the web browser you are using (e.g., Google Chrome, Safari, Firefox) is listed and has its corresponding box checked, thus granting it system-level access to the microphone hardware.
- Restart and Test: If you had to check the box for your browser, close and re-open the Google Doc. You should now be able to reliably use microphone on mac for Google Docs without security conflicts.
Using Voice Typing on the Google Docs Mobile App (Phone)
The crucial distinction for mobile users is that the dedicated Voice Typing feature from the desktop “Tools” menu is entirely unavailable. The method to use microphone on Google Docs on phone relies instead on the device’s operating system keyboard features.
- Open and Edit: Launch the Google Docs app on your smartphone or tablet (iOS or Android) and open the document. Tap the screen to enter editing mode.
- Activate the Keyboard: Tapping the text field brings up the on-screen virtual keyboard.
- Locate the Keyboard Microphone: The dictation button is built into the keyboard itself, not the Docs application interface.
- On Android (using Gboard): The microphone icon is often positioned near the spacebar or among the punctuation keys.
- On iOS (standard keyboard): The microphone icon is usually located next to the spacebar or sometimes adjacent to the language switch button.
- Initiate Dictation: Tap the keyboard microphone icon. The keyboard will switch to listening mode, usually with a wave animation or a visual prompt, allowing you to speak directly into the document using the phone’s built-in transcription service.
Beyond Docs: How to Use Microphone in Google Slides and Sheets
While documents are the most common application, the utility of voice input extends across the Google Workspace suite, particularly for adding context, notes, and detailed information rapidly.
Using Voice Typing in Google Slides
Google Slides, when accessed via the desktop web browser, offers the same dedicated Voice Typing tool as Docs, though its application is usually restricted to specific text areas. To use microphone on Google Slides:
- Target Area: Voice Typing is primarily useful for dictating content into the Speaker Notes section, which is essential for quickly drafting talking points and detailed presentation context.
- Activation: The activation method is identical to that of Google Docs. While actively editing a slide, locate the Tools menu in the top bar and select Voice Typing.
- Dictation: Click the floating microphone widget and begin speaking. The transcribed text will appear wherever your cursor is active, usually within the Speaker Notes pane below the slide. This allows presenters to quickly outline narrative content without interrupting their visual design workflow.
Using Voice Typing in Google Sheets
Google Sheets operates fundamentally differently, focusing on structured data input rather than continuous prose. As a result, Google Sheets does not officially support the dedicated Voice Typing feature found under the Tools menu.
To use microphone in Google Sheets cells, you must rely entirely on the underlying operating system’s built-in dictation function:
- Desktop Workaround: Use the native operating system dictation features (e.g., Windows Dictation, macOS Dictation shortcut like Fn Fn). Ensure your cursor is active in the cell where you want the text, activate the OS dictation, and speak.
- Mobile Method: On the Google Sheets mobile app, the standard keyboard microphone icon (as detailed in the Phone section above) works for inputting text directly into individual spreadsheet cells. This is essential for quickly recording notes or descriptive data without slow typing on a small screen.
FAQs – How To Use Microphone On Google Docs
Yes, Google Docs Voice Typing supports specific commands for punctuation and formatting. You can speak commands such as “period,” “comma,” “new line,” “question mark,” and “exclamation point” to structure your text without pausing dictation. You can also use commands like “delete” or “select paragraph” to edit text efficiently.
The microphone icon is typically grayed out because the browser or the operating system has not granted microphone access to Google Docs. Alternatively, ensure you are in the document’s “Editing” mode, as the dictation feature is unavailable in “Suggesting” or “Viewing” modes. Always check your browser permissions first.
No, the dedicated Voice Typing feature, which is activated through the “Tools” menu, is available only on the desktop web browser version of Google Docs. Mobile users on phones or tablets must instead rely on the integrated dictation features provided by their device’s native keyboard, such as Gboard or the standard iOS keyboard.
The language setting for dictation is located directly above the floating microphone widget that appears on your screen. Click the dropdown menu located there and select the required language (e.g., German or Japanese) before you begin speaking. This ensures accurate recognition and proper transcription based on the chosen language model.
No, you can utilize any functional microphone recognized by your computer’s operating system to use the microphone on Google Docs. This includes a built-in laptop mic, a standard external USB microphone, or a connected headset. While audio quality improves transcription, any basic, functional device will allow for dictation.


