
APPS • DAILYTECH.ID - Adding a branded banner or custom header image significantly professionalizes the appearance of any Google Form, improving user engagement and recognition. The visual element sets the tone immediately, transforming a basic data entry sheet into a cohesive, branded digital tool ready for internal communication or public outreach.
To add a banner or header image to your Google Form, navigate to the Form Editor, click the “Customize theme” (paint palette) icon, and select “Choose Image” under the Header section. You can upload a custom image (recommended size: 1600 x 400 pixels), or select from Google’s gallery. This instantly personalizes the form’s appearance and sets the tone for respondents. The process of how to add a banner image to google form is simple and integrated within the native theme tools.
Step-by-Step Guide: Mastering the Google Forms Header
The ability to customize your form’s appearance is crucial for maintaining brand consistency, especially for small business owners or educators using forms for official communication. This section provides a detailed breakdown of the exact process needed to successfully add banner to google form.
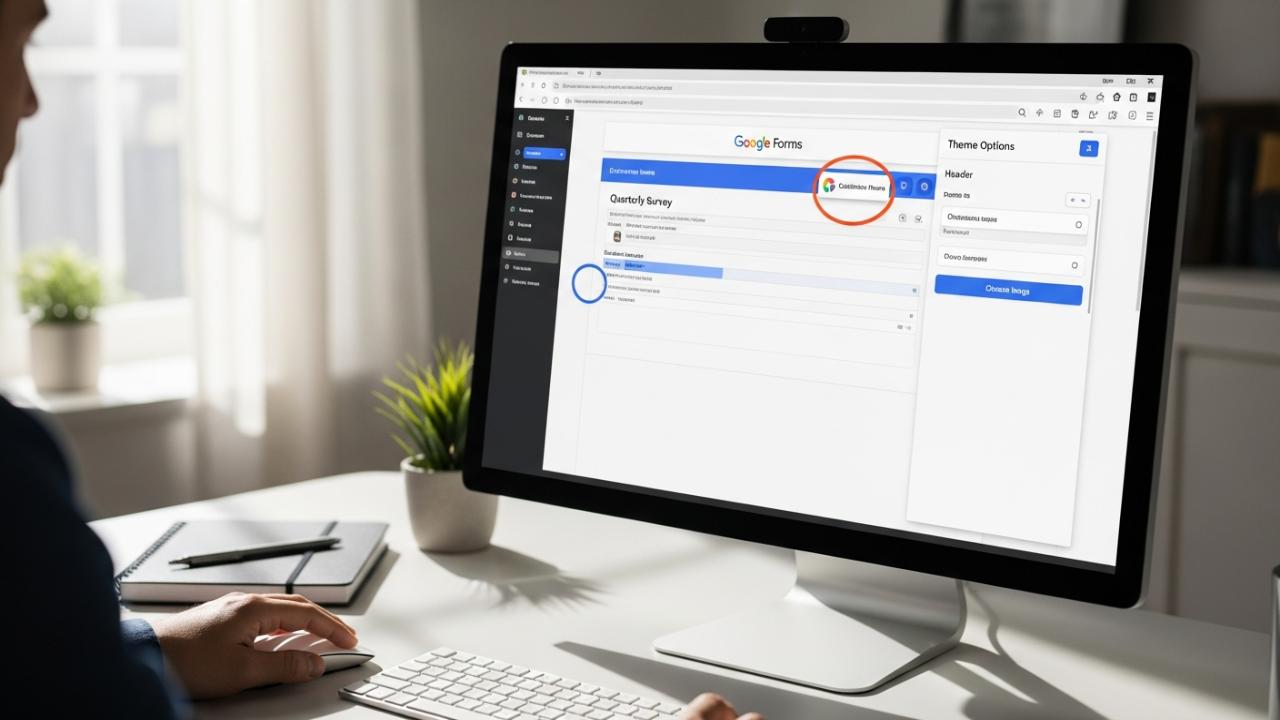
Accessing the Theme Customization Menu
Begin the process by ensuring your Google Form is open in the main editor mode. If you are viewing the live form, you must return to the editing interface (accessible via the pencil icon usually located in the bottom right corner). Once in the edit view, locate the customization menu—this is the small, round paint palette icon situated near the top right corner of your screen, typically nestled between the Add-ons icon and the Send button.
Clicking this icon opens the dedicated “Theme options” panel on the right side of the screen. This crucial control panel is where you will manage all visual aspects of the form, including colors, fonts, and, most importantly, how to add a header in google forms. The interface is intuitive, categorizing customization elements into Header, Theme Color, Background Color, and Font Style.
Uploading or Selecting Your Header Image
Within the open Theme options panel, the very first customizable section is labeled “Header.” This is the command center for adding your visual branding element.
To initiate the process of how to add a header to google form, click the prominent “Choose Image” button located beneath the Header section title. This action opens a selection window presenting three primary sources for your header image:
1. Upload
This is the preferred method for users who have a pre-designed, branded image or logo ready on their local computer. Clicking the “Upload” tab allows you to drag and drop your file directly into the designated area, or you can click “Browse” to navigate your computer’s file system. This option is necessary if you need to add logo to google form header or deploy a specific, branded graphic. Remember that Google Forms will immediately attempt to optimize and crop the image upon upload, which is why adherence to the recommended sizing (detailed later) is vital.
2. Photos
If your Google account is synced with Google Photos or if you have previously uploaded images to Google Drive, the “Photos” tab provides access to your existing digital albums. This is useful for quickly reusing form headers or brand assets that are already within the Google ecosystem.
3. Illustrations and Themes (Gallery)
For users who do not have a custom image, Google provides an extensive, categorized gallery of stock photos, illustrations, and pre-designed themes. These are organized by topic (e.g., Work and School, Birthday, Wedding, Sports) and are guaranteed to fit the form’s header specifications perfectly. Selecting an image from this gallery provides the fastest way to add a picture header to google form and instantly elevate its appearance.
Once you have selected the desired file—either through upload or gallery choice—click “Insert.” The image will automatically process, resize (if needed), and be positioned as the banner at top of google form.
Adjusting the Theme Colors and Background
One of the most powerful features of Google Forms is its ability to create visual cohesion by automatically integrating the header image’s color palette into the rest of the form. As soon as you add banner photo to google form, Google Forms utilizes proprietary color-matching technology to extract the dominant hues from the newly uploaded header image.
This automated selection immediately updates the primary “Theme color” swatches displayed just below the Header section. These colors dictate the appearance of action items, question separators, field borders, and progress bars. While the automated suggestion is often effective, you are not locked into these choices.
To gain full control over the form’s aesthetics, scroll down to the “Theme color” section and click the “Add custom color” icon (the plus sign). This opens a color picker where you can input specific hexadecimal codes for exact brand matching, or simply select a hue that complements the new header.
Furthermore, this panel allows you to address how to add background in google forms. The “Background color” option offers several shades derived from the chosen Theme color. Selecting a lighter or darker background provides necessary contrast for readability. Ensuring the background, theme color, and header image work harmoniously is the final step in creating a professional and visually consistent document.
Best Practices for Google Form Banner Design
While simply uploading an image is straightforward, ensuring that image looks professional, legible, and correctly branded requires adherence to specific design principles.
The Critical Google Forms Banner Size
When designing or selecting your custom graphic, understanding the precise dimensions is the most critical element. If the image is too wide or too narrow, Google Forms will either stretch, compress, or severely crop the file to fit the available space, which can ruin branding or hide important text.
To guarantee that your image displays without awkward cropping or pixelation when you add header image to google form, the recommended dimensions are 1600 pixels wide by 400 pixels tall.
This creates a 4:1 aspect ratio. Because this ratio is panoramic, designers must be mindful of placement:
- Safety Zone: Ensure any essential elements, such as your company logo or crucial text, are placed centrally and do not extend too close to the top or bottom edges.
- Mobile Optimization: The 1600×400 standard holds true for responsiveness. When a respondent views the form on a mobile device, the image scales down uniformly, preserving the 4:1 ratio and clarity, ensuring the banner google forms design remains intact.
Ignoring these optimal dimensions will lead to visual frustration and a reduction in form professionalism.
Using Professional Tools: How to Create a Google Form Banner in Canva
For users who are not professional graphic designers but still need a custom, branded look, platforms like Canva are invaluable for design. If you are asking how to create a banner for google forms using Canva, the process is streamlined:
- Set Custom Dimensions: When starting a new design in Canva, choose the “Custom size” option and input 1600 px for the width and 400 px for the height. This instantly creates the perfect canvas for banner google forms templates.
- Incorporate Branding: Drag and drop your high-resolution logo onto the canvas. Use Canva’s text tools to add a brief, descriptive title or slogan related to the form (e.g., “Annual Employee Feedback Survey 2026”).
- Ensure Readability: Because the banner image often sits directly above the form title and description, choose background imagery that is subdued or use color blocking to ensure any text placed on the banner is legible. Bright, highly detailed backgrounds can clash with text.
- Exporting: Export the final design as a high-quality PNG file if the image includes transparent elements (like a logo without a background), or as a JPG file if it is a solid photographic banner.
This preparation step simplifies the eventual upload, ensuring the visual element is production-ready.
Advanced Customization and Aesthetic Cohesion
Beyond the basic steps of adding the image, mastering the customization panel allows for a truly polished, end-to-end branded experience for the respondent.
Incorporating a Logo versus a Full Banner Image
A common query revolves around how to add logo to google form header without utilizing a wide, photographic graphic. Since Google Forms only permits a single header image upload, integrating a simple logo requires strategic design work external to the form:
- Design the Canvas: Open a 1600 x 400 pixel blank canvas in your design software (e.g., Canva, Photoshop).
- Placement: Place the logo centrally on this canvas. The logo itself might only be 300 x 300 pixels, but it must be contained within the 1600×400 frame.
- Background Strategy: For maximum flexibility, the area surrounding the logo (the remaining white space of the 1600×400 canvas) should be set to a solid color that perfectly matches the background color you plan to use in the Google Form theme settings, or ideally, set to transparent (exported as a PNG).
- Upload: When this image is uploaded as the header, only the logo will appear centered at the top, allowing the theme colors beneath to seamlessly blend around it, achieving the desired look of simply having a prominent logo rather than a busy banner.
Harmonizing Font Styles and Backgrounds
While the primary visual impact comes from how to add banner to google form, the overall user experience is defined by readability and consistent styling. The Theme options panel provides limited, yet essential, font control under the “Font style” section.
Google Forms offers four preset font styles—Basic, Decorative, Formal, and Playful—which are intentionally limited to prioritize accessibility and quick loading times. Selecting a style that complements the tone of your banner (e.g., “Formal” for official reports, “Playful” for casual surveys) ensures consistency.
Furthermore, if the initial background color automatically selected by Google does not provide sufficient contrast, use the Background color selector within the Theme options to make adjustments. For instance, if your header is dark, selecting a very light or white background color ensures the black font of the questions stands out clearly, preventing respondent fatigue and potential data errors due to poor visibility.
Previewing and Testing the Final Form
Before sharing the form widely, always utilize the Preview function (the eyeball icon at the top of the editor). This is a critical troubleshooting step after you add banner image to google form.
Check for:
- Cropping Issues: Does the 1600×400 image appear as intended, or has Google heavily cropped key features? If cropping occurred, return to your design tool and move essential elements inward.
- Color Clashes: Do the chosen theme colors (links, required asterisks) clash with the banner or the background? Adjust the theme color hex codes if necessary.
- Mobile Responsiveness: View the preview on a mobile device or use your browser’s developer tools to simulate a mobile screen. Ensure the banner scales down correctly and that text remains legible.
By systematically addressing these elements, you ensure that the effort spent on customizing how to add a picture to a google form translates into a highly professional and effective data collection tool for every user, regardless of the device they use.
FAQs – How to Add Banner to Google Form
The optimal dimensions to prevent cropping or stretching when you add banner image to google form are 1600 pixels wide by 400 pixels tall. This 4:1 panoramic aspect ratio ensures clarity and consistency across desktop and mobile devices, maintaining the integrity of your visual branding.
No, Google Forms only permits the assignment of a single header image via the Theme customization menu. This one image will display consistently at the very top of the form, regardless of how many sections or pages the form contains for respondents to navigate.
After you add a header, Google Forms automatically suggests colors based on the image. To override this, open the “Customize theme” panel, scroll to “Theme color,” and manually select a new primary color or enter a specific hexadecimal code to ensure proper brand alignment.
If the banner is not showing correctly, it likely wasn’t designed using the optimal 1600×400 size or key elements were placed too close to the edge. When the form scales down for mobile, these edge elements may be cropped off. Ensure crucial content is centered.
Yes, you can upload a logo by placing it centrally on a 1600 x 400 pixel canvas. Export the image with a transparent background (PNG file) or a solid background matching your form’s theme color to make it appear as if only the logo is present at the top of google form.


