
APPS • DAILYTECH.ID - Displaying live, dynamic data from a Google Sheet directly on a website is essential for sharing real-time metrics, project status updates, or pricing tables without constant manual updates. This guide provides the definitive steps to successfully integrate your Google Sheets and Docs into any modern web platform, detailing precisely how to embed google sheet in website regardless of your CMS.
To embed a Google Sheet into a website, you must first publish it to the web via the ‘File’ > ‘Share’ menu, then select ‘Publish to the web.’ This generates an HTML iframe code. Copy this code and paste it directly into the HTML editor of your webpage, blog post, or CMS (like WordPress or Wix) to display the spreadsheet data dynamically. Achieving this requires accessing the native “Publish to the web” feature within the spreadsheet application.
The Core Method: How to Embed Google Sheet In Website
Embedding a Google Sheet requires generating a specific iframe snippet that allows the spreadsheet data to be displayed securely on a webpage. This method is universal and effective for any website platform that supports standard HTML embedding, guaranteeing that you can embed google sheet in website without reliance on third-party plugins or complex API integrations.
Step 1: Prepare and Publish the Google Sheet
The first critical step is transforming your private Google Sheet document into a publicly accessible, though read-only, web view. Before you proceed, ensure your data is finalized, formatted correctly, and that you are logged into the Google account that owns the document.
- Access the Target Google Sheet: Open the spreadsheet you wish to display.
- Initiate Publishing: Navigate to File > Share (or sometimes just File in newer interfaces).
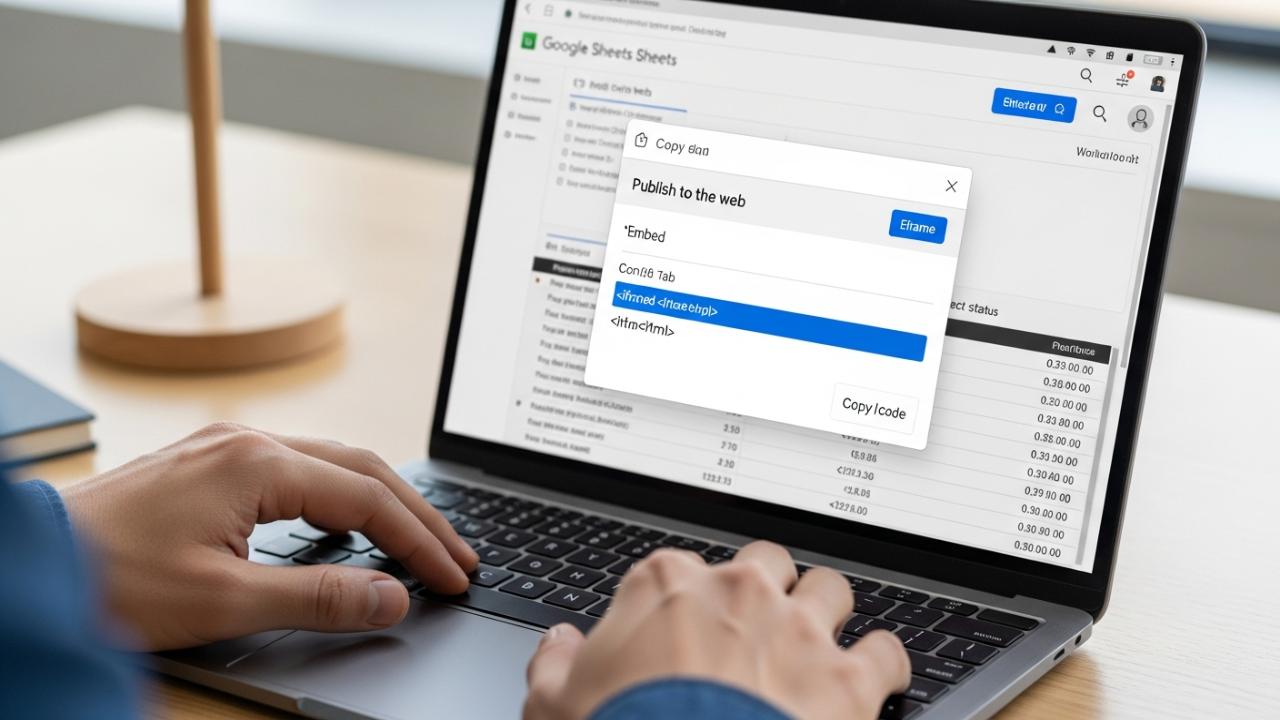
- Select Publishing Option: Choose Publish to the web. This action does not make the original document editable by the public; it merely generates a secure, static snapshot frame.
- Choose Embed: In the pop-up window, you will see two tabs: ‘Link’ and ‘Embed.’ Crucially, switch from the ‘Link’ tab to the ‘Embed’ tab to generate the necessary iframe. Using the link tab will not work and may result in visitors seeing a restrictive login prompt.
- Configure Document Scope: Under the ‘Embed’ options, use the first dropdown menu to select whether you want to embed the entire document or a specific sheet. If your sheet contains sensitive tabs you do not wish to share, select only the relevant sheet name here.
- Define Display Settings: Optionally, you can choose specific formatting options, such as hiding gridlines, displaying the title, or defining specific rows and columns. While the interface allows limited visual configuration, precise modifications of size and appearance will be handled by the resulting HTML code.
Step 2: Copy the Iframe Embed Code
Once satisfied with the sheet range selection, the Google system automatically generates the full, unique HTML embed code within the text box.
- Locate the Iframe: The generated code will begin with
<iframe src="...and end with</iframe>. This is the inline frame, which securely pulls the live data view from Google’s servers. - Copy the Full Snippet: Copy the entire HTML block provided. This comprehensive code is precisely what allows you to embed Google Sheet in webpage or embed Google Sheet in web page.
- Examine the Read-Only Nature: Note that this standard published view is inherently read-only. This optimizes page performance and securely controls how to display Google Sheet data on website without risking accidental public modification. The embedded data will update automatically when the original sheet is edited, usually within a few minutes.
Step 3: Paste the Code into Your Website’s HTML Editor
The final and most critical step is successfully integrating the iframe into your website’s content management system (CMS). This is often where non-technical users encounter issues, as the code must be pasted into the HTML source view, not the visual editor.
- Navigate to the Target Page: Open the specific webpage, article, or post where the spreadsheet needs to appear.
- Switch to Code View: Locate the editor’s viewing options. Whether you are using a standard CMS like Drupal, an editor like TinyMCE, or the native WordPress block editor, you must switch the editor from the visual/WYSIWYG (What You See Is What You Get) mode to the raw HTML or “Code Editor” view.
- Paste the Iframe: Paste the copied iframe code precisely where you want the sheet to load. Do not modify the code at this stage unless you are adjusting the width and height attributes (see Section: Adjusting Dimensions).
- Verify and Publish: Switch back to the visual editor (if applicable) to see a preview (often a placeholder frame) and then save or publish the page. This successful integration completes the process of how to add a Google Sheet to a website.
Platform-Specific Implementation Methods
While the resulting iframe code is standardized HTML, the procedure for inserting that code changes based on the platform architecture. Understanding these platform nuances is key to a smooth integration experience.
Embedding Google Sheets In WordPress
For the millions of WordPress users, the insertion method depends heavily on which editor is currently active.
Gutenberg Block Editor (Current Standard)
- Insert Custom HTML Block: When editing a post or page, click the plus icon to add a new block. Search for and select the Custom HTML block. This block is specifically designed to handle raw code snippets like iframes.
- Paste the Code: Paste the entire iframe code directly into the Custom HTML block’s input field.
- Preview and Save: You can click the “Preview” option within the block settings to see if the sheet loads correctly before publishing. This is the most direct method for how to embed google sheets in wordpress without relying on external plugins.
Classic Editor
If you are still utilizing the older Classic Editor, you must manually toggle the editor mode.
- Switch to Text Tab: Locate the editor tabs above the text area (usually labeled “Visual” and “Text”). Click the Text tab. This reveals the raw HTML source code of your page.
- Insert and Save: Paste the iframe code where you want it to appear among the existing HTML content. Return to the Visual tab to check placement and publish.
Adding Google Sheets or Docs to Wix
Wix is a proprietary closed system and requires using their specific “Embed” element to ensure the code is processed securely within their framework.
- Access the Wix Editor: Open the page in question within the Wix editor interface.
- Add Element: Click the plus icon (Add Elements) on the left sidebar.
- Select Embed Code: Navigate down the menu and select Embed Code.
- Choose HTML Embed: From the options, select Embed HTML (or sometimes just “iframe”). This creates a dedicated container box on your page layout.
- Insert Code: Click the new element box and choose Enter Code. Paste the Google Sheet iframe snippet into the provided field.
- Adjust Layout: Crucially, Wix editors often require you to manually drag the corners of the embed box to define the visible area of the sheet. Adjust the size and positioning of the element to ensure the full spreadsheet content is displayed without being cut off. This detailed process applies equally when learning how to add google doc to wix website.
Embedding Google Docs: A Related Process
While spreadsheets are for structured data, documents are for continuous content. Fortunately, the technique for how to embed a google doc in a website is nearly identical to embedding a spreadsheet, relying on the same secure ‘Publish to the web’ feature.
The Google Docs Embedding Procedure
- Access Google Docs: Open the document you wish to embed.
- Publish: Go to File > Share > Publish to the web.
- Select Embed: Just as with Sheets, switch to the Embed tab in the publishing window.
- Copy and Paste: Copy the resulting iframe code and paste it into the HTML editor of your target website.
How to embed google doc into website involves this simple step, often providing a cleaner, more interactive, and always up-to-date document view compared to using static PDF embeds. The embedded Doc is highly optimized for readability and scrolling, providing a seamless user experience for how to embed google doc on website.
Controlling Interactivity, Security, and Appearance
Understanding the security and configuration options of the iframe is critical, especially when determining if can you embed a Google Sheet in a website and how the data interacts with visitors.
Making the Embedded Sheet Editable
The standard ‘Publish to the web’ method is designed specifically to prevent public writing access, prioritizing data integrity and security. Therefore, how to embed editable google sheet in website is not straightforward using the native iframe method.
To achieve genuine front-end editing capabilities where web visitors can input data directly into the Google Sheet:
- Use Google Apps Script: This requires developing a custom web application that connects the Google Sheet API to your website. The app must handle authentication and CRUD (Create, Read, Update, Delete) operations securely, which is a developer task far beyond simple embedding.
- Third-Party Services: Specialized third-party services (often paid subscription models) are built specifically to bridge the gap, providing secure forms or dynamic tables that write back to Google Sheets via the API.
If true editing isn’t required, but interactive features like sorting or filtering are desired, the standard iframe usually provides these functionalities for viewers by default, offering a robust method to how to display google sheet data on webpage.
Adjusting Dimensions and Appearance
To ensure your embedded sheet looks professional and responds well across devices, you must modify the width and height attributes contained within the copied iframe code snippet.
The default published iframe code looks something like this (variables omitted):
<iframe src="[Google Sheet Source URL]" width="600" height="400"></iframe>You should manually adjust these pixel values for better integration:
- Width Optimization: Change
width="600"towidth="100%". This ensures the sheet scales automatically to the width of the containing div or content column on your page, making it responsive. - Height Customization: The height should usually be set to a fixed pixel value (e.g.,
height="800") to prevent the sheet from overwhelming the page, allowing the viewer to scroll within the frame itself.
For advanced responsiveness, particularly on mobile devices where spreadsheets can be unwieldy, encapsulate the iframe within a responsive CSS wrapper that handles overflow scrolling:
<div style="overflow-x: auto;">
    <iframe src="[Google Sheet Source URL]" width="100%" height="800"></iframe>
</div>
This wrapper guarantees that if the sheet is wider than the mobile screen, the user can scroll horizontally within the defined area without breaking the site layout.
Troubleshooting Common Embedding Issues
Sometimes, the sheet does not appear as expected. Here are the most frequent issues and their resolutions:
The Blank or Login Prompt Error
If your embedded frame appears blank, or worse, demands that the visitor log into a Google account, you have almost certainly used the wrong link type.
Resolution: Return to Step 1. You must have used the standard “shareable link” (which requires permissions) instead of the iframe code generated under the File > Publish to the web > Embed tab. Only the iframe generated by the publishing tool guarantees public, unauthenticated viewing.
Cut-Off Content
If the sheet only displays the top left corner of your data, the issue is almost always a dimension conflict.
Resolution: Ensure your iframe code has appropriate width and height attributes. If using fixed pixel values, confirm they are large enough to contain the data. For responsiveness, confirm width="100%" is used, and adjust the container CSS if necessary to manage overflow gracefully.
Data Not Updating
While the ‘Publish to the web’ feature is dynamic, it is not instantaneous.
Resolution: Google typically caches the published view for a few minutes. If you have just made a change, wait 5 to 10 minutes and clear your browser cache. The sheet will update automatically without requiring you to regenerate or re-paste the iframe code. If the sheet still doesn’t update after an extended period (an hour), ensure that the ‘Automatically republish when changes are made’ setting is checked in the original Publish to the web dialogue box.
FAQs – Embed Google Sheet In Website
Yes, the data displayed via the ‘Publish to the web’ iframe is dynamic and updates automatically whenever changes are made and saved in the original Google Sheet document. There is usually only a slight delay, typically between two and ten minutes, before the new changes appear on the live website.
Both utilize the ‘Publish to the web’ function to generate an iframe. The difference lies in content display: Sheets are displayed as structured tables or charts, perfect for how to display Google Sheet data on webpage, while Docs are optimized as continuous, scrollable documents for reading long-form text.
This happens if you used the direct shareable link instead of the embed (iframe) code, or if the Sheet’s general sharing settings are set to ‘Restricted’ rather than using the ‘Published to the web’ feature. Always ensure you copy the exact iframe code from the ‘Embed’ tab after publishing the document.
Yes. When using File > Publish to the web, the interface prompts you to select whether you want to embed the entire document or only specific named sheets. To restrict access to individual cells, you must hide or remove those cells before you publish the sheet.
Ensure that the width attribute in the iframe code is set to a relative unit, specifically width="100%", rather than a fixed pixel value. For extreme widths, wrap the iframe in a container element with overflow-x: auto defined in the CSS to allow horizontal scrolling on small screens.


