
APPS • DAILYTECH.ID - Setting up an automated email alert system for Google Forms is crucial for timely response management and seamless workflows. While Google Forms is an excellent data collection tool, its native notification features are often insufficient for professional use. The most reliable method to set up real-time Google Form email notifications is using official Google Workspace Add-ons like Notification for Forms or Email Notifications for Google Forms, as Google Forms lacks built-in real-time notification capabilities beyond standard spreadsheet alerts.
These tools enable custom recipient lists (including multiple people) and conditional notifications based on specific answers. Understanding the limitations of Google Forms’ native functions is the first step toward implementing a robust notification strategy.
Why Default Google Form Notifications Are Insufficient
For administrative staff, project managers, and educators, timeliness is often the most critical factor in data collection. However, the native alert system provided by Google Forms falls short of business requirements. By default, Google Forms only offers email alerts to the creator when new responses are saved in the linked Google Sheet. This basic functionality often fails to meet the requirements for real-time operations, conditional routing, or notifying entire teams immediately upon submission. We must look beyond the basic settings to learn how to get email notifications for google form responses automatically and reliably.
Comparing Native Alerts vs. Dedicated Add-ons
The core limitation stems from where the alerts originate. When a user submits a form, the data is instantly written to the linked Google Sheet. Google allows users to set up simple notification rules within the Sheet (under Tools > Notification rules). These Native Spreadsheet Alerts are limited in several ways: they can only notify the owner of the spreadsheet and are limited to daily digests or immediate notifications that lack conditional logic or deep customization of the email content. They are a passive function of the spreadsheet, not an active feature of the form itself.
In contrast, dedicated add-ons override this limitation by operating directly on the Form Submission trigger. This addresses The Need for Real-Time Alerts. Businesses require an immediate email notification when google form is submitted, ensuring that applications, priority requests, or support tickets are handled instantly, not merely captured in a spreadsheet for later review. If your business process relies on quick turnarounds—such as HR applications or emergency equipment requests—you need a system that ensures the correct personnel know how to turn on email notifications for a google form that deliver instantaneously.
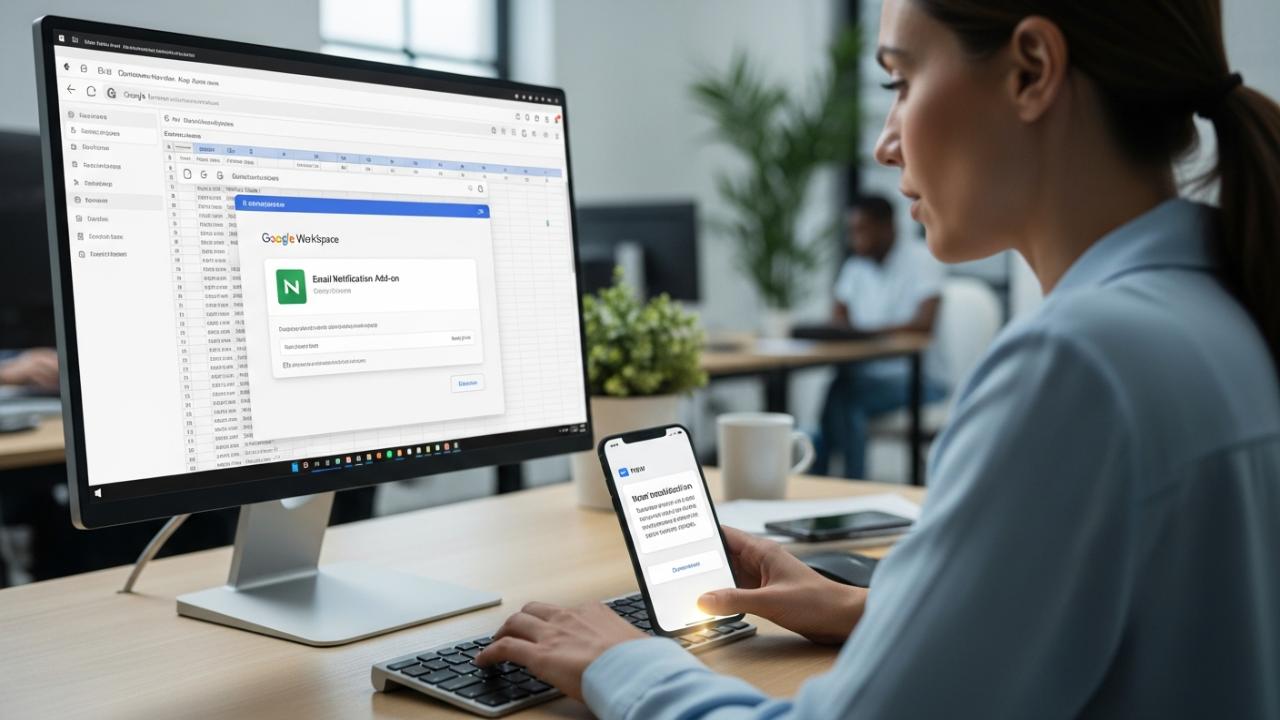
Method 1: Implementing the Best Google Form Email Notification Add On (Recommended)
Using a dedicated google form email notification add on is the simplest and most robust way to ensure reliable alerts. This method is strongly recommended for most business owners and administrative staff who require complexity without coding. Many solutions are available in the Google Workspace Marketplace, often providing a free tier suitable for basic needs or small-scale education projects.
How to Choose a Reliable Google Form Email Notification Extension
When seeking a tool to get email notifications from Google Forms, prioritize extensions that offer high ratings, recent updates, support for multiple recipients, and—most importantly—conditional logic capabilities. Add-ons such as “Email Notifications for Google Forms” or “Form Notifications” simplify the process of getting an email notification from a google form. Look for features like the ability to include submitted data directly in the email body, which turns a simple alert into actionable data. A quality google form add on email notification tool should allow you to visualize and test your notification flow before deployment.
Step-by-Step Setup for Instant Notifications
Implementing a third-party add-on is straightforward and bypasses the limitations of native spreadsheet alerts. This ensures you know how to set up email notification for google form submissions effectively and immediately.
- Access the Add-on Menu: Open your Google Form, click the three-dot menu (More) in the top-right corner, and select “Add-ons.” Alternatively, look for the puzzle piece icon if you are viewing the Form editor.
- Search and Install: Search the Workspace Marketplace for a tool like “Email Notifications for Google Forms.” Review the permissions requested by the google form email notification extension and click “Install.”
- Launch the Add-on: After installation, a new icon (often the puzzle piece or the add-on’s specific logo) will appear in your form editor toolbar. Click this icon and select the option to configure or create a new notification rule.
- Define the Trigger: Inside the add-on interface, you will establish a new rule. Name the rule (e.g., “High Priority Alert”). The trigger is typically set to “On Form Submission” to ensure an automatic email notification when submitted.
- Configure Recipient(s) and Content:
- Specify the recipient email address(es). This is where you would address the need for google form email notification multiple people (detailed below).
- Customize the subject line and email body. High-quality add-ons allow the use of dynamic placeholders (merge tags, such as
{{Timestamp}}or{{Question Name}}) to inject the submitted data directly into the alert email, providing immediate context to the recipient.
- Save and Test: Save the rule configuration. To verify the process, submit a test response to your Google Form. You should receive the customized alert email within seconds, confirming that the google form automatic email notification system is functional.
Handling Complex Workflows: Multi-Recipient and Conditional Alerts
For organizations managing significant data volume, a simple alert to one person is often insufficient. Workflows necessitate sophisticated routing, such that different departments or individuals are notified based on the form’s content or urgency level. This capability transforms the simple form into a true operational tool.
How to Notify Multiple People When a Google Form is Submitted
Achieving google form email notification multiple people requires the functionality to define a distribution list (DL) or several individual email addresses within a single notification rule. Most dedicated add-ons support this feature natively.
When configuring the recipient list in your chosen add-on:
- Direct Entry: Simply list all necessary email addresses separated by commas (e.g.,
manager@company.com, supportteam@company.com, accounts@company.com). - Dynamic Recipient: For advanced cases, if the form itself collects the email address of the required recipient (e.g., the user is filling out a form on behalf of a specific supervisor), some add-ons allow you to select a specific form field as the recipient email source. This ensures the google form notification to different email addresses happens dynamically based on the input data. This is crucial for seamless internal routing of requests.
Setting Up Conditional Email Notifications Based on Response
The true power of using a dedicated google form email notification add on lies in its ability to handle conditional logic. Conditional logic ensures that you only receive an alert—or that a specific team receives an alert—when certain criteria are met (e.g., if a user selects “High Priority” or if an expense exceeds $5,000). This functionality utilizes the powerful mechanism of google forms email notification based on response.
To implement a google form conditional email notification free setup (using the free tier of a robust add-on), follow these steps:
- Create Multiple Rules: Instead of one general notification rule, create separate, specific rules for each potential outcome.
- Define the Condition: Within Rule 1 (e.g., “Priority Approval Needed”), define the condition: “Send email IF [Question: Urgency Level] is EQUAL TO [Answer: High Priority].”
- Specify the Recipient: Set the recipient for Rule 1 to the leadership or priority handling team (e.g.,
leadership@company.com). - Define the Default Rule: Create Rule 2 (e.g., “Standard Submission”): “Send email IF [Question: Urgency Level] is NOT EQUAL TO [Answer: High Priority].”
- Specify the Default Recipient: Set the recipient for Rule 2 to the general administrative team (e.g.,
admin@company.com).
By layering these rules, you create an effective, automated dispatch system. This allows administrative staff to manage critical tasks instantly while filtering routine submissions, solving the need for a targeted google form conditional email notification.
Method 2: Advanced Setup Using Google Form Email Notification Script
For users comfortable with coding, leveraging Google Apps Script provides ultimate customization without relying on third-party software. This method provides an entirely free, powerful alternative for setting up google form automatic email notification and is highly valued by IT professionals and power users. This approach is bound to the form’s spreadsheet response destination.
Writing and Deploying the Google Form Email Notification Script
The Google Apps Script environment allows you to write custom JavaScript functions that execute when specific events occur. The most critical event here is the onFormSubmit trigger.
- Access the Script Editor: Open the Google Sheet linked to your Google Form. Go to Extensions > Apps Script.
- Implement the Notification Function: You will need a simple function that captures the form data and uses the
MailAppservice to send the email. This script provides the core logic:
function sendFormAlert(e) {
  // Define the email address(es) to receive the notification
  var recipientEmail = "your.email@example.com, another.user@example.com";

  // Capture the form data in a concise manner
  var responseData = "";
  var items = e.namedValues;
  for (var key in items) {
    if (items.hasOwnProperty(key)) {
      responseData += key + ": " + items[key] + "\n";
    }
  }

  var subject = "NEW Google Form Submission Received: " + items["Timestamp"];
  var body = "A new submission has been recorded with the following details:\n\n" + responseData;

  // Send the email using Google's built-in service
  MailApp.sendEmail(recipientEmail, subject, body);
}- Set the Trigger: The script must be told when to execute. In the Apps Script editor (left sidebar), click the clock icon (Triggers).
- Click “Add Trigger.”
- Choose the function
sendFormAlert. - Select “Select event source” as From spreadsheet.
- Select “Select event type” as On form submit.
- Save and Test: Save the script, ensure the trigger is active, and submit a test form response. The trigger will execute the
sendFormAlertfunction, detailed to send email notification when google form is submitted. This method gives users complete control over the email formatting, the recipient list, and adding complex conditional logic directly within the code (e.g., usingifstatements to handle google form conditional email notification based on answer).
Troubleshooting Common Notification Issues
Even the most robust system can encounter failures. Understanding why google forms email notification not working is essential for maintaining seamless data workflows and ensuring business continuity.
Resolving ‘Email Notifications for Google Forms Not Working’
If your system suddenly stops sending alerts, several common causes may be at play:
- Security Permissions Revoked: If you are using a script (Method 2), the Google account that authorized the script may have had its security permissions revoked, or the script may require re-authorization following a Google security update. The script owner must manually re-run the script or re-authorize the trigger.
- Add-on License or Limits: If you are using a third-party add-on (Method 1), check if you have exceeded the free tier limit (e.g., 20 notifications per day). Upgrading the license or reviewing the usage dashboard is necessary.
- Linked Spreadsheet Deletion: If the linked Google Sheet is deleted or the form owner changes the response destination, the connection between the form and any spreadsheet-bound triggers (including scripts or some add-on configurations) will break. You must re-link the form or re-establish the script trigger.
- Recipient Spam Filters: Sometimes the automated emails, especially those sent via Apps Script, are flagged as potential spam. Always check the spam folder of the recipient address and ensure the sending address (usually the form creator’s or script owner’s Google address) is whitelisted.
How to Change the Google Form Email Notification Address
If the primary form owner changes roles, you must know how to utilize google forms change email notification address to maintain business continuity.
For Add-ons (Method 1):
Access the configuration panel of your specific add-on. Locate the notification rule you wish to modify. The recipient field is easily editable, allowing you to delete the old address and input the new primary administrator’s email or a general distribution list.
For Scripts (Method 2):
Open the Apps Script editor bound to the spreadsheet. Locate the line of code defining the recipient: var recipientEmail = "old.email@example.com";. Simply update this string to the new required address or addresses. If the original account is being decommissioned, the new administrator must copy the Google Sheet and the embedded script, then re-authorize the script and triggers under their own account to ensure the emails are sent successfully.
FAQs – Google Form Email Notification
Yes, but only through the basic functionality of the linked Google Sheet. You can set notification rules within the Sheet to alert the Sheet owner when changes occur, but this lacks the robust customization and conditional logic offered by dedicated add-ons or scripts.
The easiest way to send a Google Form notification to multiple emails is by using a dedicated add-on like “Email Notifications for Google Forms.” You simply list all desired email addresses, separated by commas, in the recipient configuration field of the add-on.
You can set up conditional email notifications for free using Google Apps Script. This involves writing a short function within the linked Google Sheet that checks a response value and sends an email only if a specific condition (e.g., an answer equals “Urgent”) is met.
Common reasons include the email being filtered into your spam folder, the add-on exceeding its daily free limit, or the script trigger failing due to revoked security permissions. Always check the add-on dashboard or the script’s execution log first.
Yes, using either add-ons or Google Apps Script, you can fully customize the subject line and email body. Add-ons use merge tags (placeholders) to insert form data, while scripts allow you to dynamically build the email using the submitted data variables.


